ShopStyleBeautyHome and nestxoxoCreateGypsy LittlesHTML Map
Showing posts with label CREATE. Show all posts

Wednesday, June 11, 2014

DIY // Gold Dipped Planters Part 2


 If you are in a crunch for a Father's Day gift with a personal touch... we've added a twist to this week's DIY

Simply paint your child's hand lightly with a paint brush, and press those little hands on the painted terra-cotta pots. 

Just like that... Father's Day success!! 

HAPPY FATHER'S DAY!! 


Monday, June 9, 2014

DIY // Gold Dipped Planters


Here is a quick DIY for an update on simple terra-cotta planters!
You can use any colors or textures, but I love the neutral tones of gold and white. You could get as detailed and perfected as you wanted with painting terra-cotta pots, but I kept it very simple by giving them a natural and rustic "dipped" appearance. 

WHAT YOU NEED:

-POTS IN DESIRED SIZES
-GOLD METALLIC SPRAY PAINT 
-WHITE ACRYLIC CRAFT PAINT
-PAINTERS TAPE
-PAINT BRUSHES


First, take the pots and tape off the areas you don't want to paint. This effect is more of a "dipped" look, so you don't need to stress about getting perfect lines and edges. I purposely pushed the tape up in some areas to give it a softer, more natural edge rather than a perfect crease. Carefully spray above or below the tape line. 


For the areas painted white, I used the same simple technique, just hand painted instead of spray painted. Just make sure the gold paint is dry before handling it for taping or painting. 

These have no rhyme or reason. I just painted at random. The painters and their bases are all different, but all go together nicely because the are in the same color scheme.


Once all the paint is dry, this will probably take over night to completely dry, then carefully remove all the tape. Again, don't worry about the imperfections. Fill your pots with soil and your favorite hard-to-kill plants! 

voilĂ  !!

GOLD DIPPED PLANTERS!


Thursday, December 5, 2013

Felt Banner // Sheena

Who doesn’t love a cute banner? You can use them for so many things- birthdays, holidays, announcements, kids rooms….whatever you want!  This banner is so SUPER EASY you can whip it up in a snap for any occasion.  No sewing, no tracing of patterns….my kind of craft!  Here is what you need-
-FELT SHEETS 
-RICK RACK
-FELT LETTER STICKERS
-SCISSORS 
-HOT GLUE GUN
Step 1.  Fold one of your felt sheets in half and cut down the center.
Step 2.  Take each of those halves and cut each of them in half
Step 3.  Take each of those quarters, fold in half and cut from bottom corner in an upward diagonal. So that you will end up with a shape like this.  Repeat with remaining sheets until you have enough for each letter of whatever you are spelling.
Step 4.  Lay out all your shapes side by side.  Now pull out your adhesive letters and apply one to each shape until you have your message spelled out.
Step 5.  Lay out your rick rack and apply a thin strip of hot glue to the top of you first letter.  Lay it face down and lined up with your rick rack.
Step 6.  Continue gluing each letter on with a little space in between until they are all glued on the rick rack.  Be sure to leave space on each end for hanging.  
Step 7.  Hang and enjoy!!
-Sheena-the Thrifty Gypsy

Friday, October 4, 2013

DIY feather necklace // sheena

 
Ever just feel the need to craft? This feather necklace is both stylish and super easy to make!
SUPPLY LIST:
  • cord necklace
  • feather picks (I bought ones that had a loop already built in….awesome!)
  • jump rings
  • wood beads


Step 1: Start by attaching jump rings to loop in feather picks. The rings allow the feathers to face the right direction when attached to the necklace, so they will face out and lie flat. 

Step 2: Remove end loop on cord necklace with needle nose pliers. This will allow you to string everything on. (You will reattach it at the end) 
Step 3: String your feathers and beads on. Here is where you can get creative and do whatever looks good to you. I did one wood bead then a feather pick, then two beads, then a feather pick…etc, etc. 
Step 4. Reattach end loop to necklace and you’re done! 

  
See...EASY! Enjoy!
//Sheena

Tuesday, August 21, 2012

little pretties


i love flowers and plants. i have always wanted to grow a really fantastic garden. i blame my unrealistic expectations on THE SECRET GARDEN. i saw the movie when i was little, and ever since i have had some kind of obsession with gardens. however, my thumb is far from green.

there are 5 things that are really standing in the way of growing my dream garden...

1. i don't enjoy dirt
2. i really hate bugs and especially spiders
3. i really hate spiders
4. i live in an apartment with no yard
5. i really hate spiders

so, for now, i am working on my house plant skills. i love terrariums. i think they are so charming. i planted a few about 2 years ago and i love them. they are so resilient and easy to care for. they even survived the move. i have also been working on my orchid skills, which are one of my favs, but a little tricky. finicky buggers. i love to have them all around the house. they are so happy. i keep them in the kitchen, bathrooms, front rooms hallways etc.

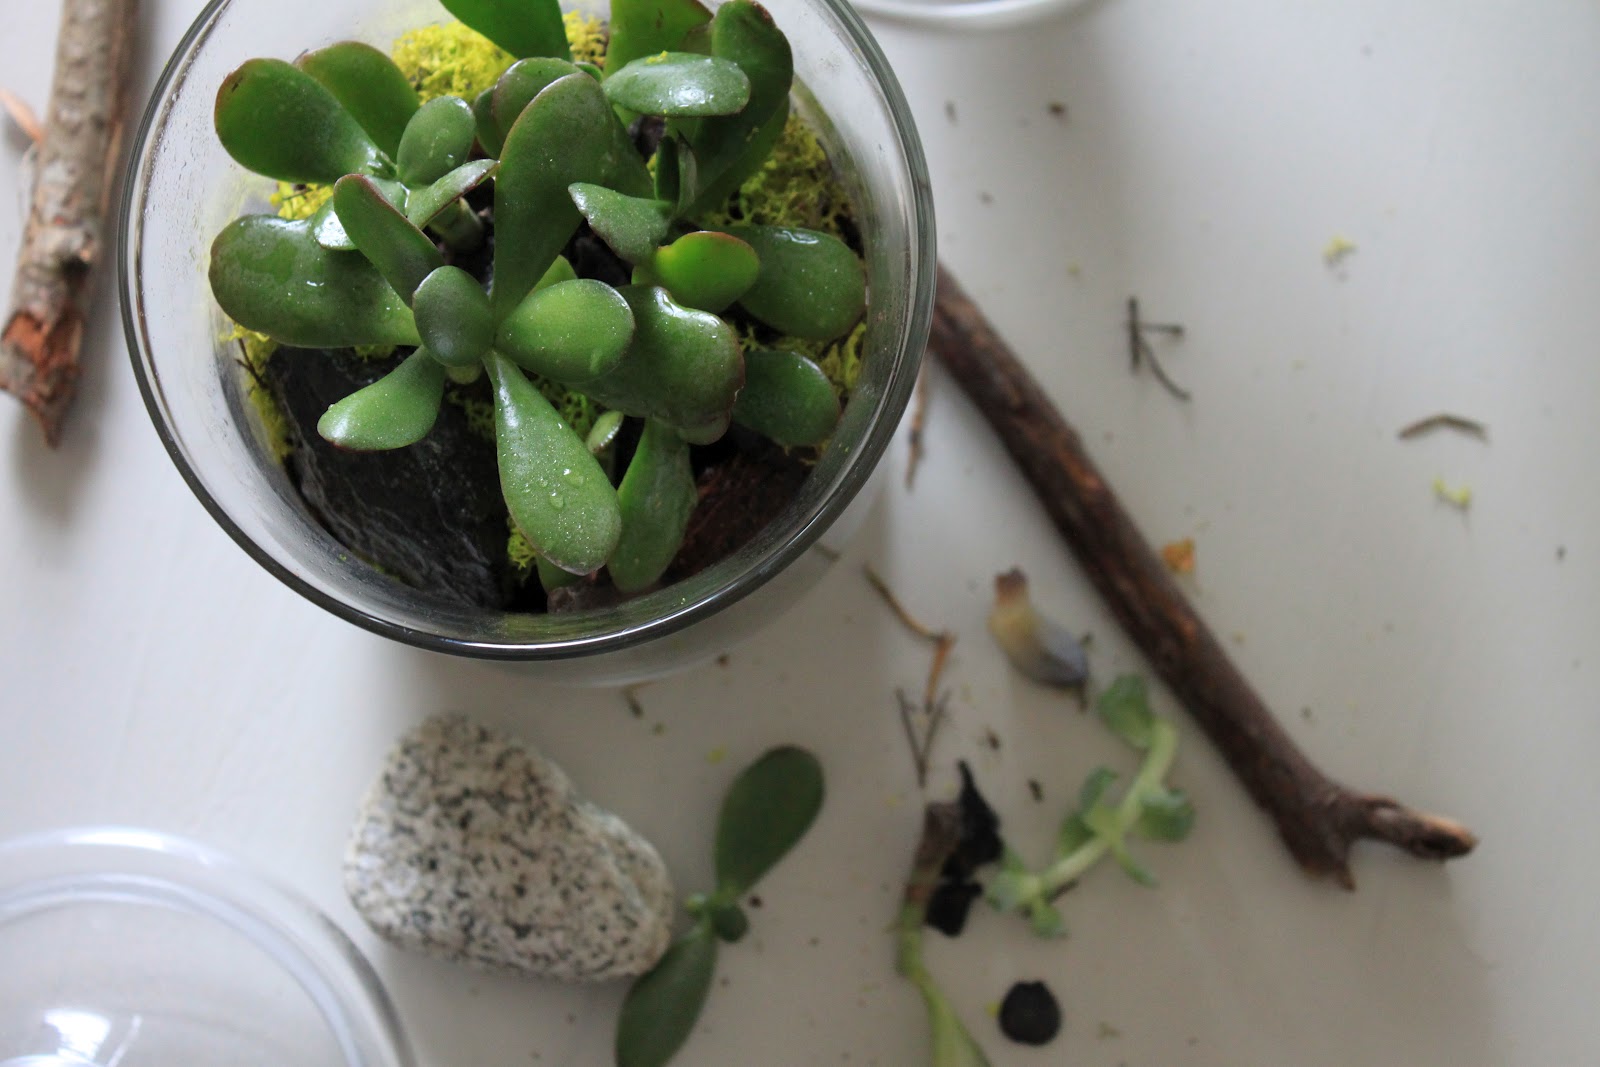
anyway, i just planted a few new terrariums and planters. this is how and this is my apartment garden...

5 step terrariums


1. contain {apothecary jar, aquarium, vase etc. almost anything will work}

2. rocks {first thing to go in the jar is rocks. small pebbles work best. it lays the foundation for the mini Eco system and provides a drainage system when watering}

3. dirt. {add some soil. i also like to add moss. it makes it pretty and holds moisture like a sponge to keep your plants hydrated}


4. plants {choose and add plant(s) i always ask the employees at the nursery what kind of plants work best. they know what they are talking about. i planted succulents in this one}


5. accessorize {i like to add a few stones or sticks to add a little something extra. i collected some rocks and sticks from a near by beach. i love to add little pieces of local nature to my home. it's so much more interesting and fun to see things you have found rather than purchased.}

i have found that each terrarium requires different amounts of water and sun. if covered, they are pretty easy to keep healthy. water sparingly and give them a good dose of sun once or twice a week. when heated by the sun, you should see the water gather at the top and rain back down to your plant babies. so simple, so pretty.


i love grouping plants and materials together that don't necessarily go together. orchids, cactus, succulents living in planters made of glass, copper, and porcelain. along with wooden candle sticks. nothing matches, but they all work together to make a lovely little kitchen garden.

happy growing!